You can see the cheese has separated into a yogarty consistency and a watery liquid around the edges. This is after 24 hours of sitting at room temperature undisturbed. If you haven’t got a noticeable curd and whey then leave it longer. Next we need to separate these…
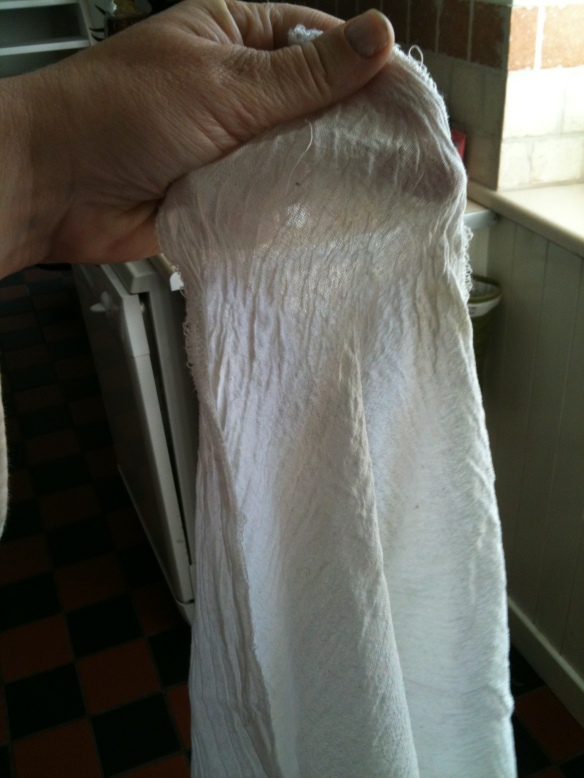
You take your piece of cheesecloth.. and knot the four corners so it looks like your uncle Harry’s bald patch protection in the sun.
Place it over the sink with a pot at the bottom to catch the whey – animals ie chickens and pigs love it. Then you need a sieve and place the cheese cloth in to the sieve. Pour the contents of your pot into the cheesecloth and let the whey drip through.
Next we need to get all four corners of the cheese cloth and tie some string around the top of it. Put your original pot on the counter and tie the string around your cupboard door handle.
Then you leave it for a further 24 hours hanging. It will look considerably smaller by same time tomorrow. 
Give your whey to the chickens, makes their shells nice and hard.
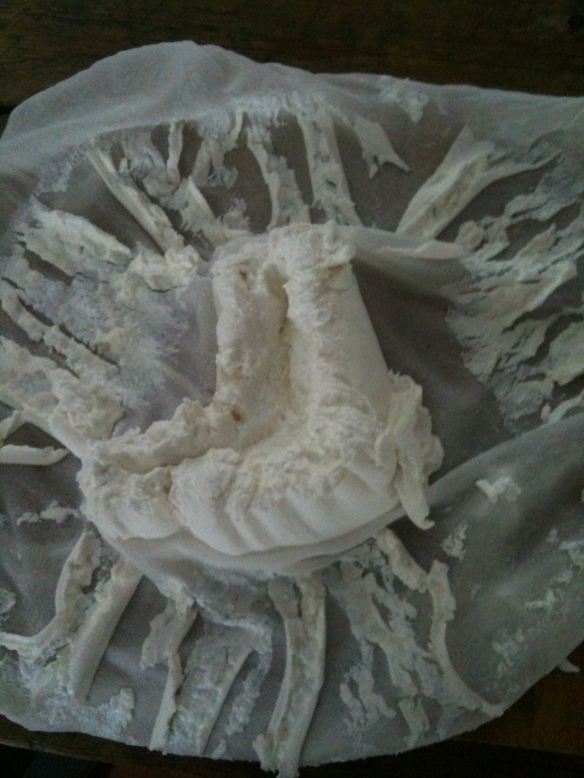
Then you tip out your cheese from the cheese cloth – you may need to scrape it off the cloth with a knife, but should still be like soft cheese now and not too liquidy, if it is then hang it up again. 
You now need to add salt to stop the cheese from developing further. Mush it all in with a fork.

Your cheese is now ready to flavour, I use chives, you can put nuts and honey, garlic – whatever your imagination tells you to do, or try them all until you find your favorite. You roll it in greaseproof paper and make a roll or you can put it in ramekins or pots lined with herbs and then tip it out when you need it. It can also freeze really well until you need it. The longer you leave it in the fridge to mature the stronger it becomes. You can eat it straight away – especially if you like a mild flavour and not to goaty. Enjoy.

